
Our expertise
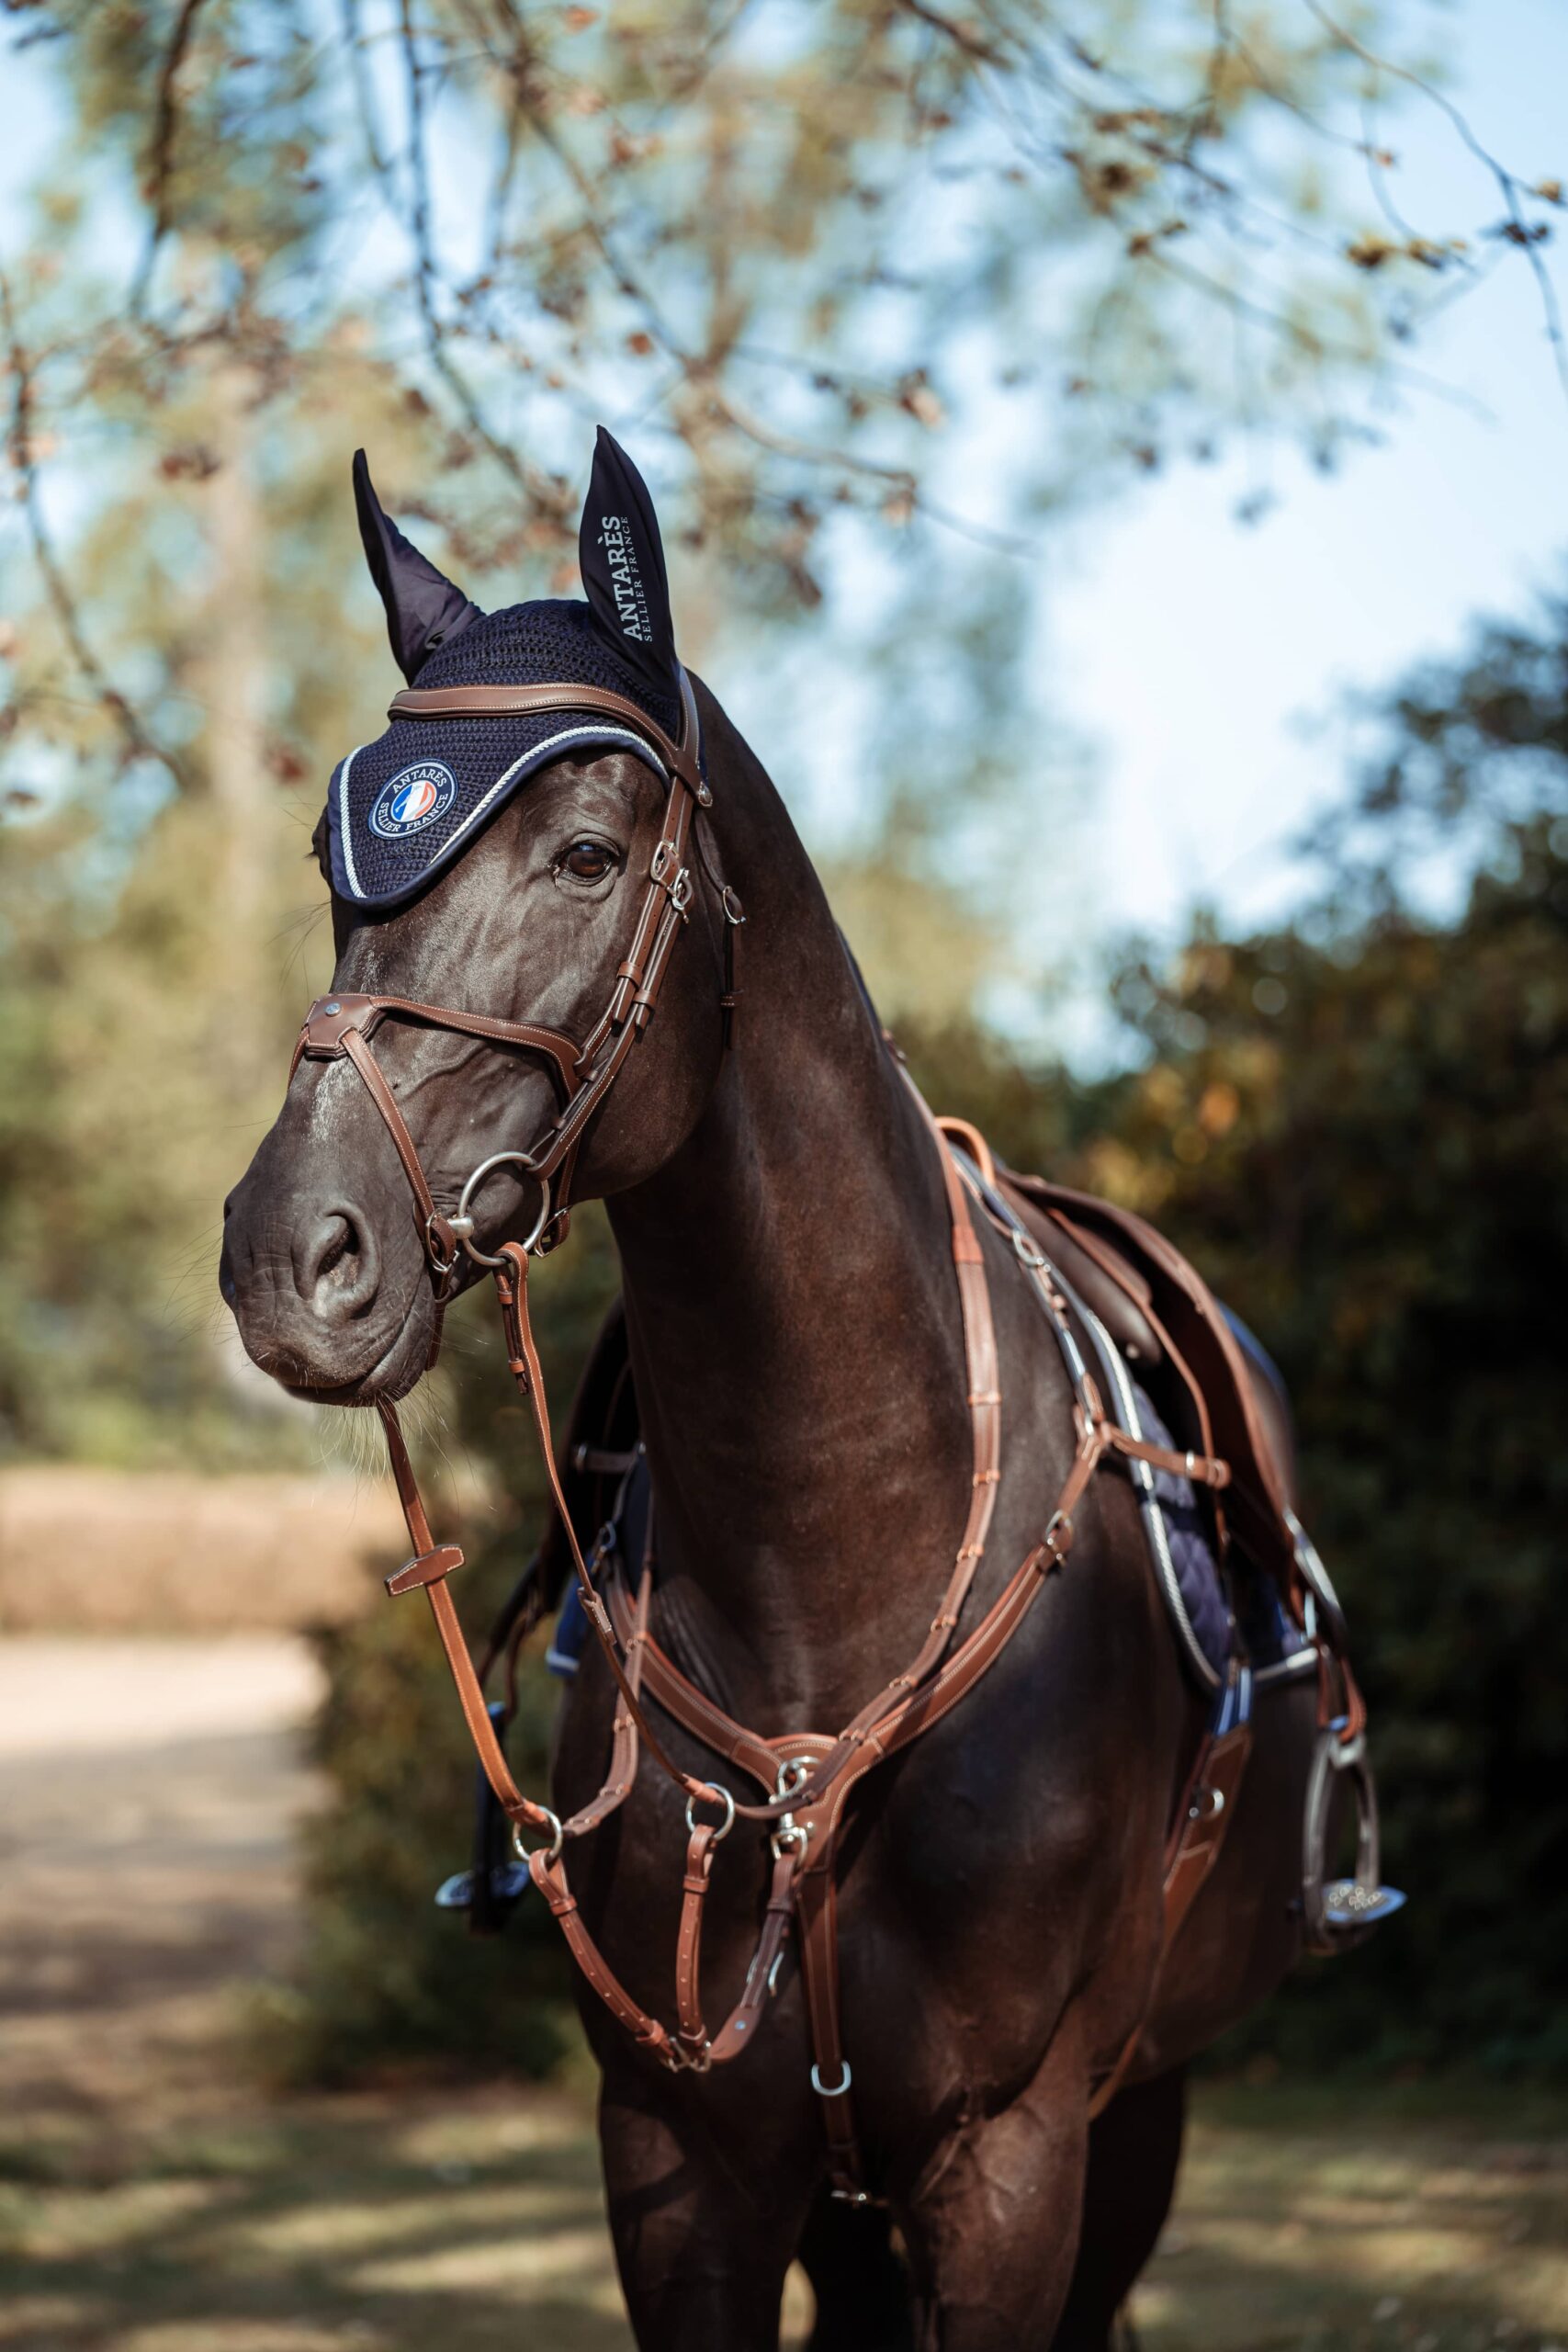
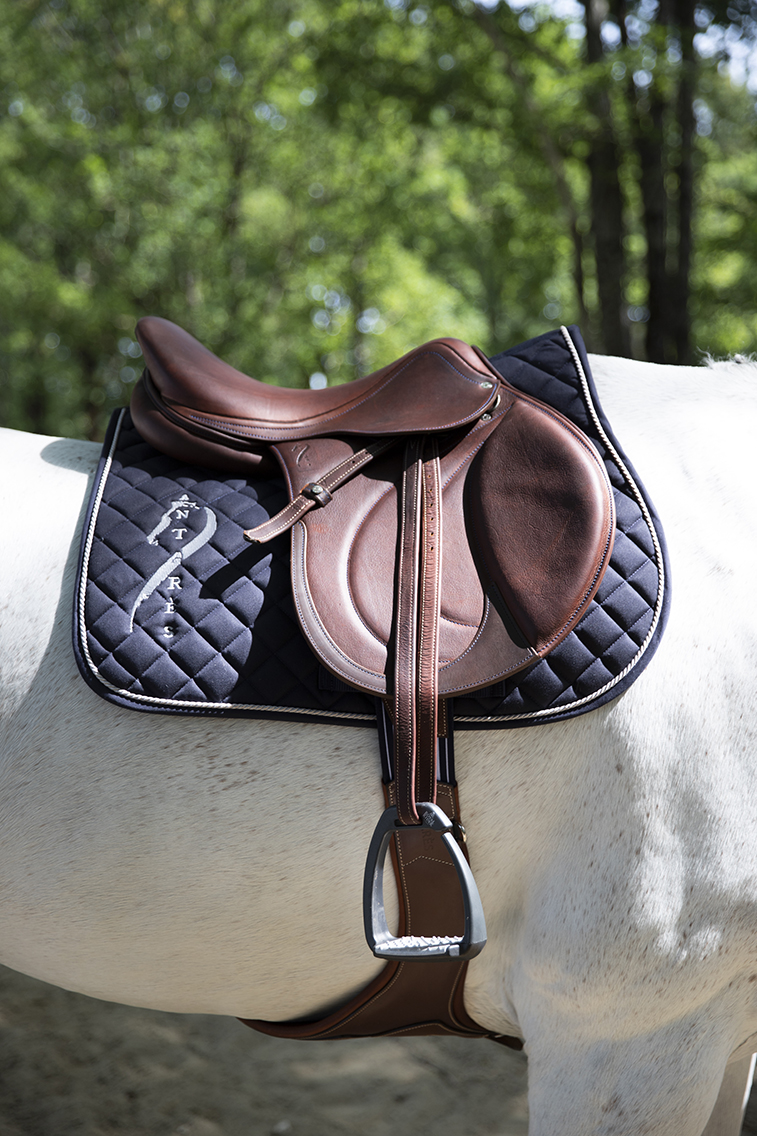
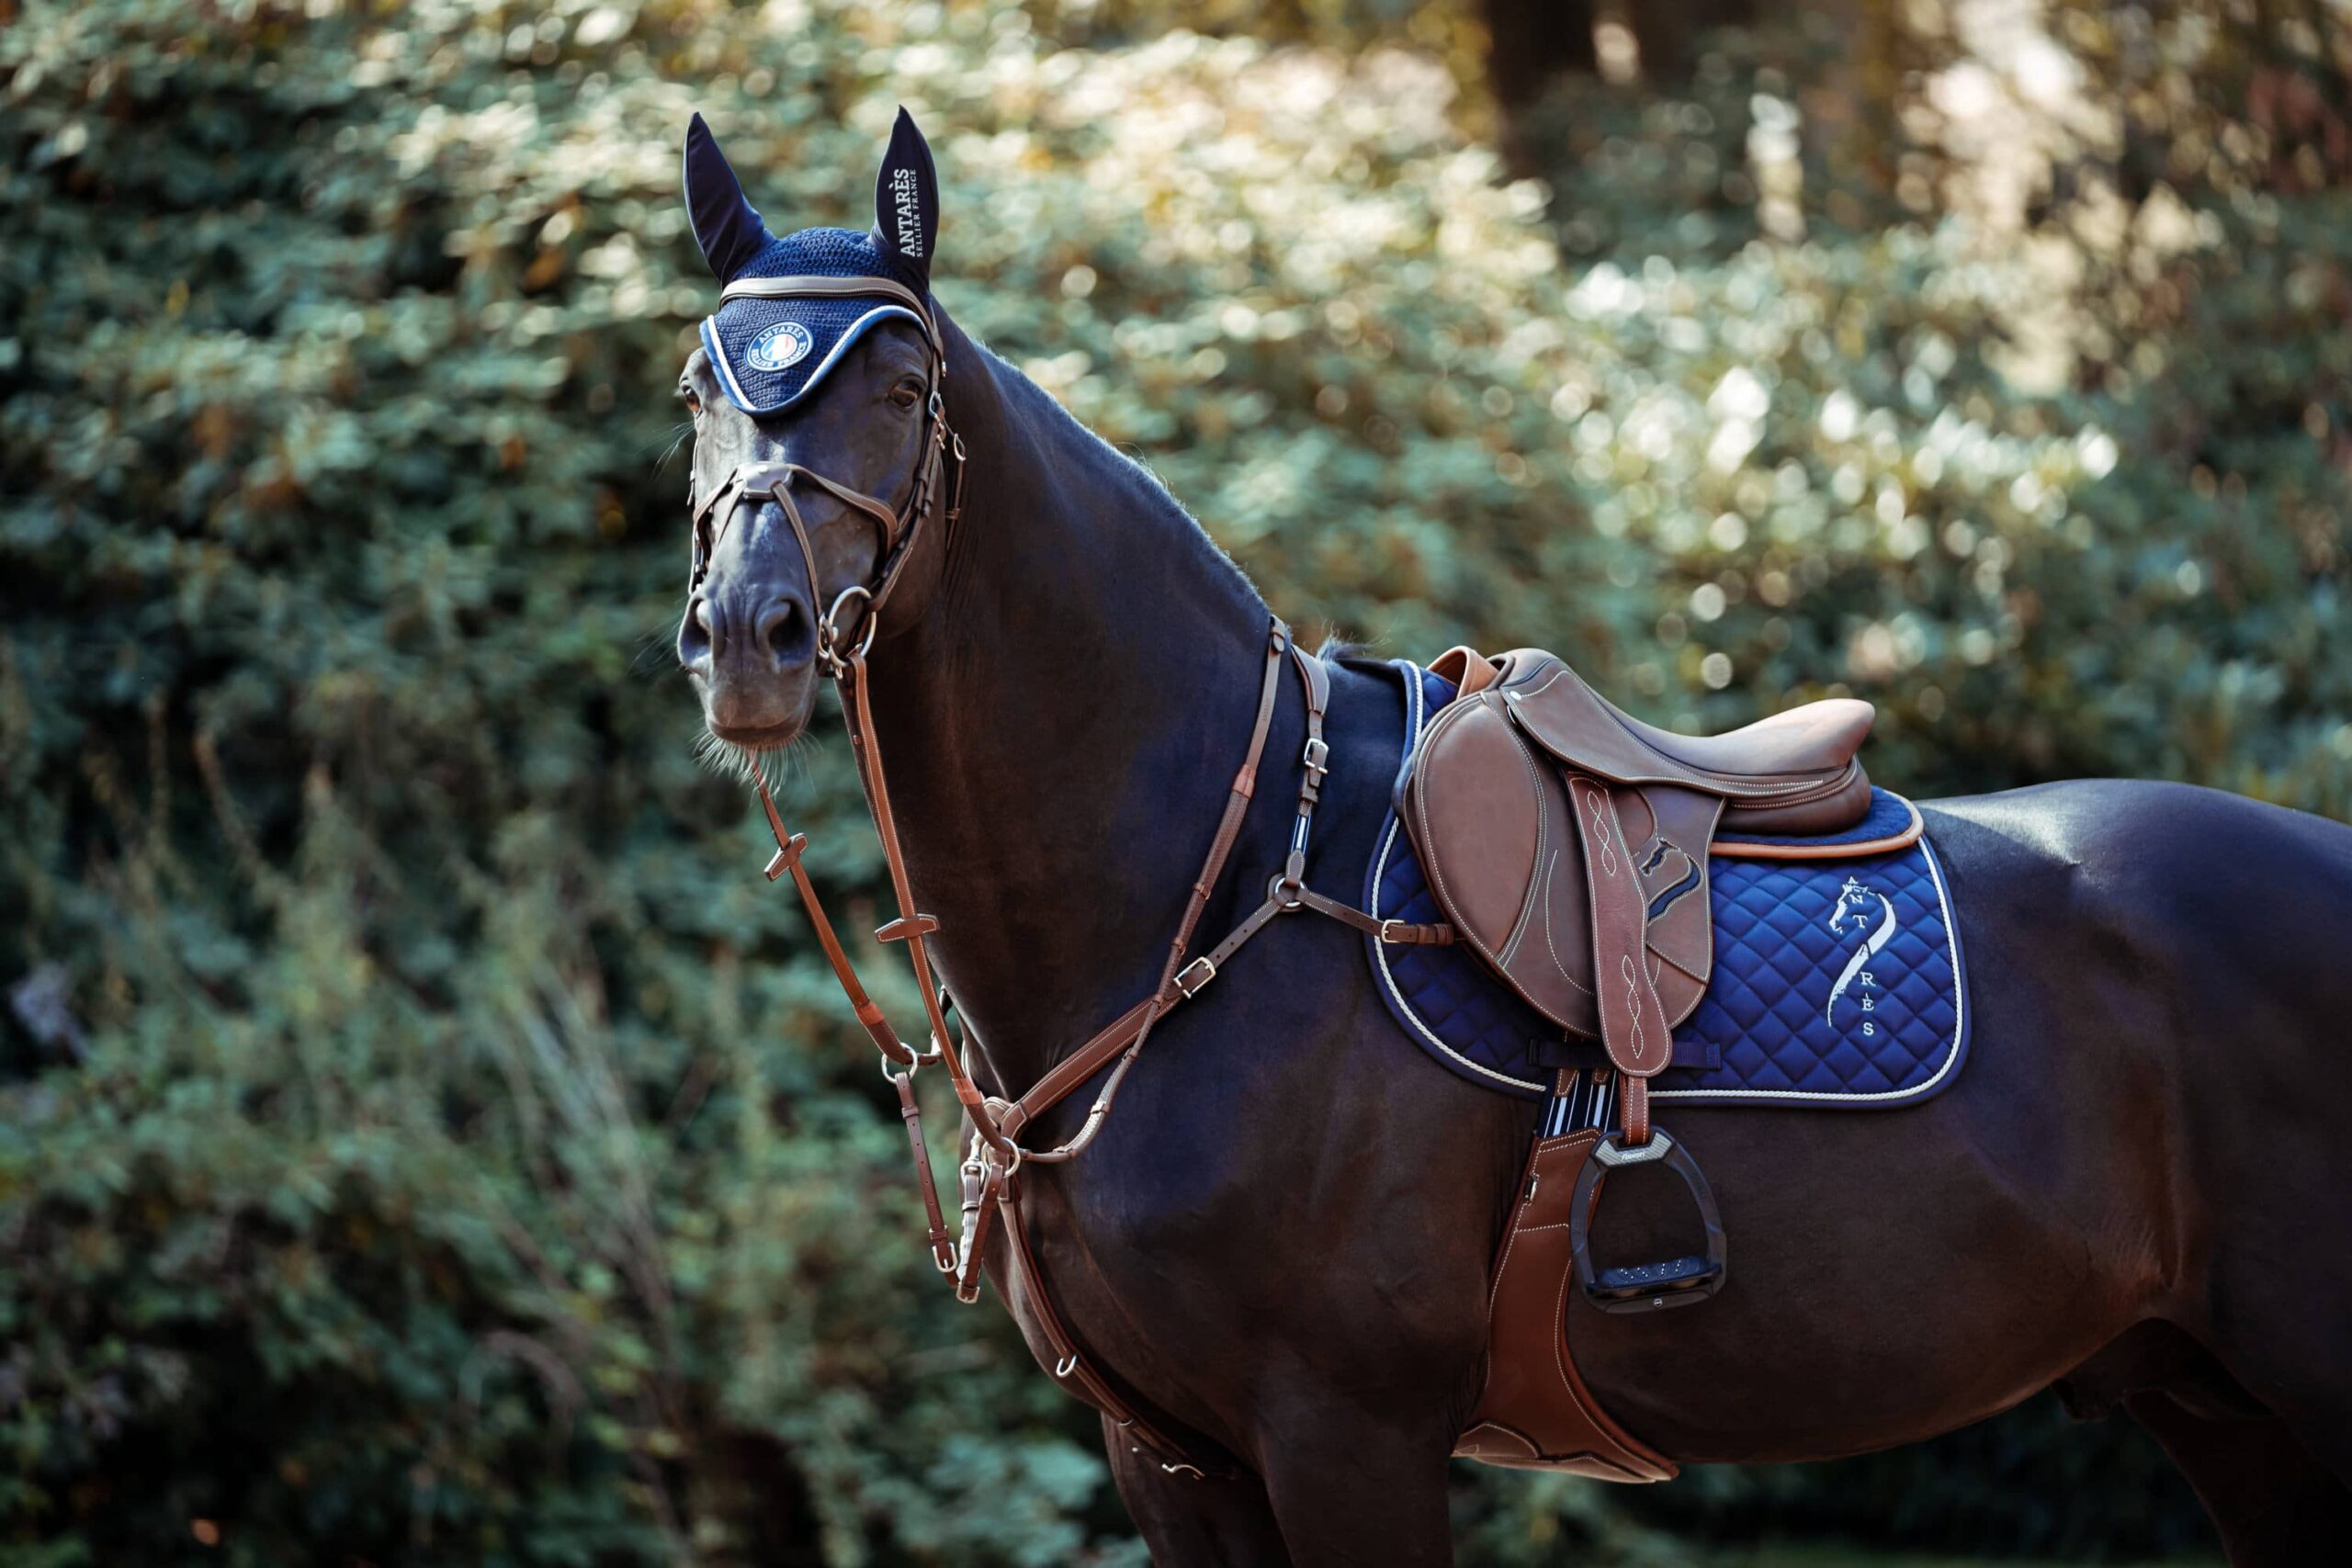
Custom fit. Handmade in France. Our famed bespoke saddle.
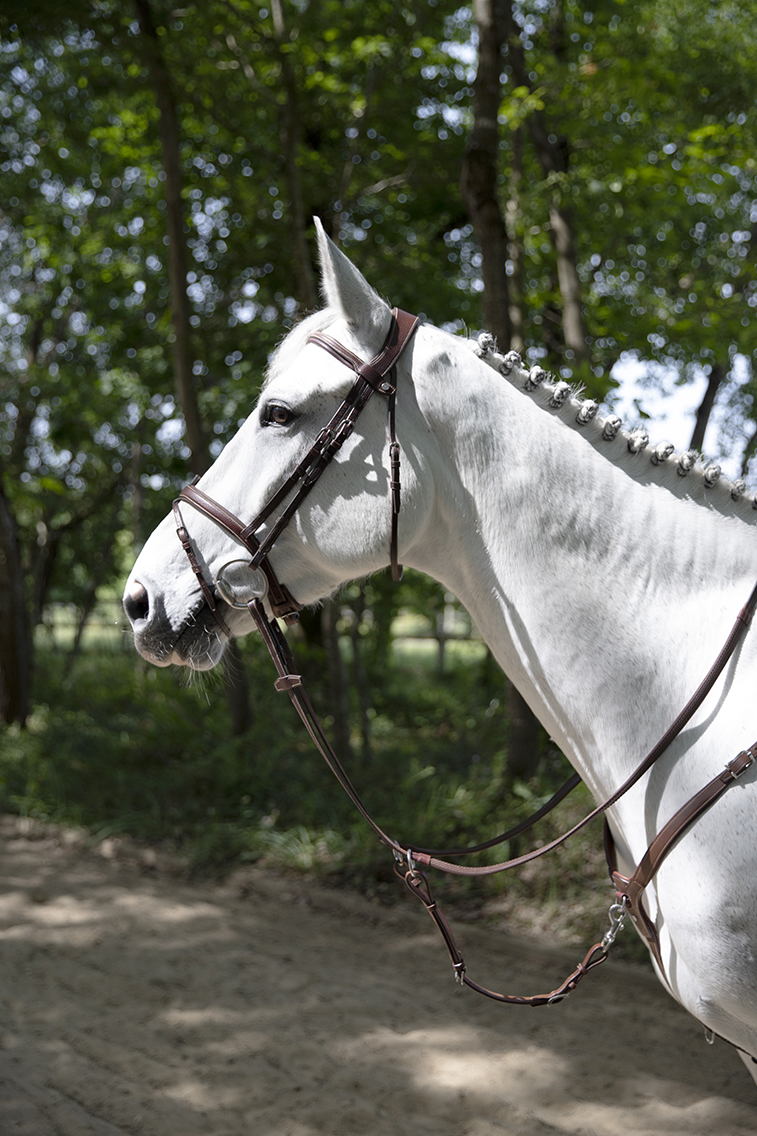
The best partnerships between horse and rider require time, effort, and equipment that enables each to perform at the best of their ability.
Antarès custom saddles are crafted to enhance this relationship, in any discipline: They honor the effort of the horse, offer confidence for the rider, and provide both with the comfort that comes with a tailored fit and proper construction.
The result of feedback from equine health professionals and our customers


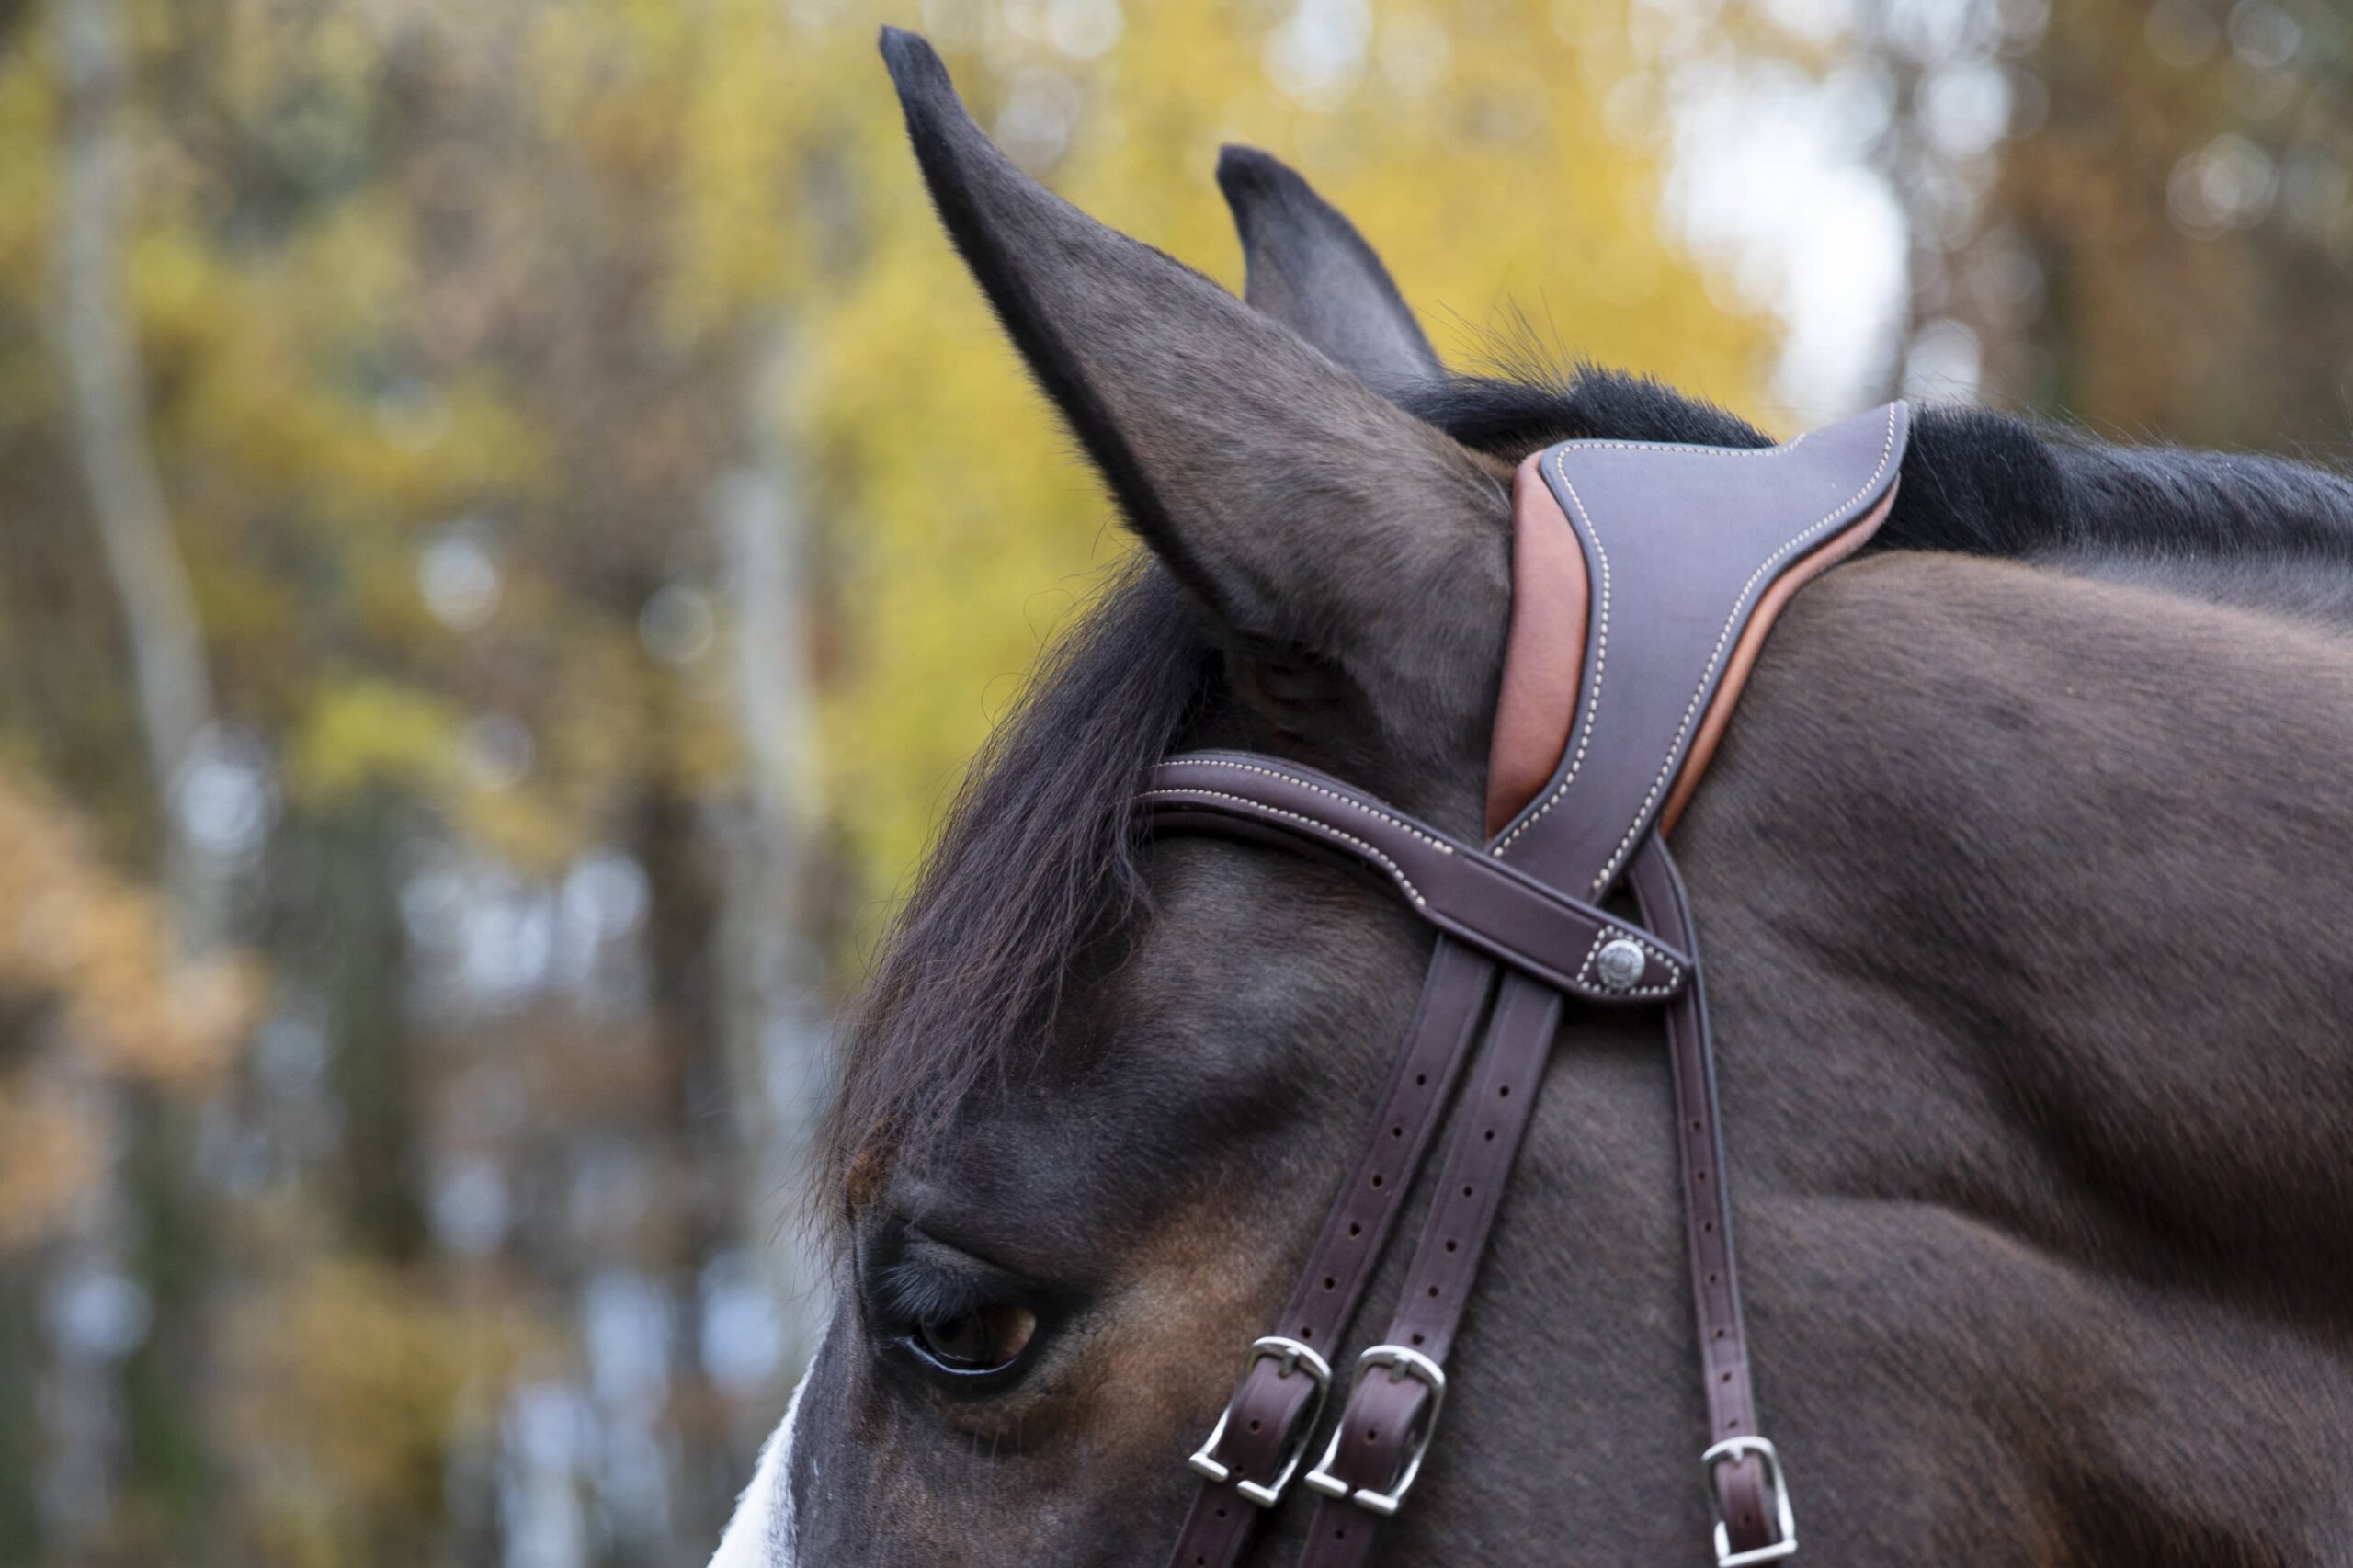
Designed for you
-
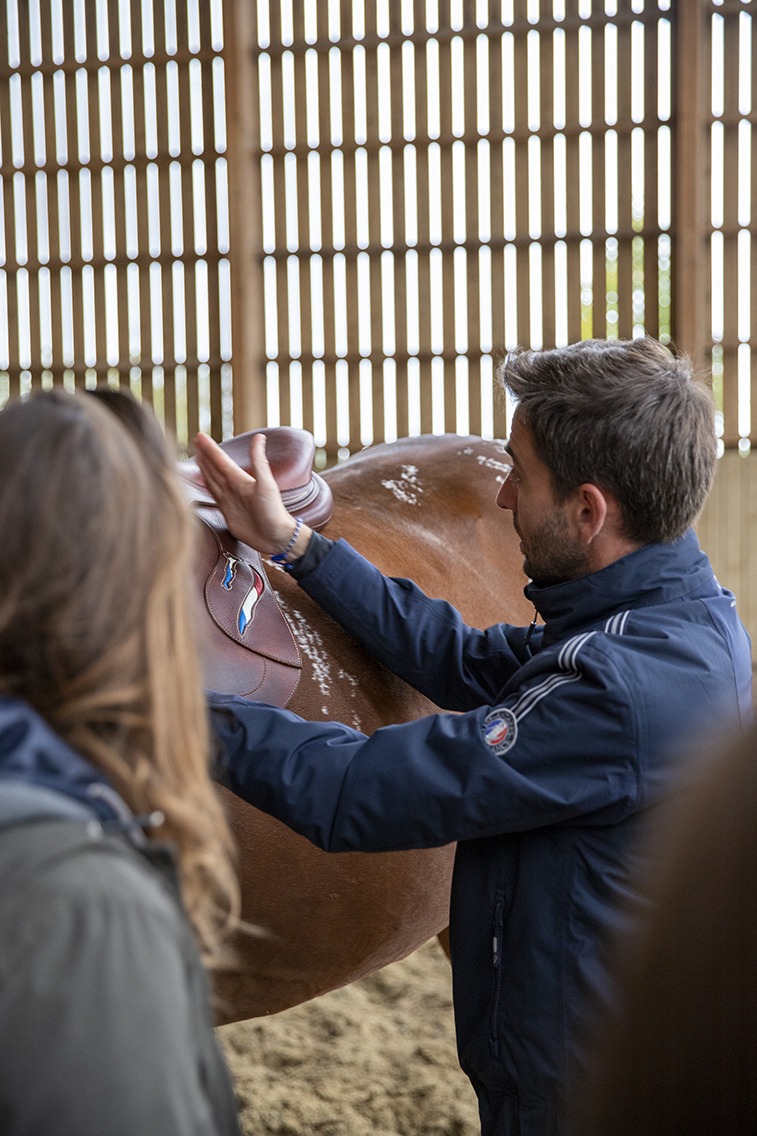
After your fitting with one of our field experts, your saddle begins as a collection of roughly 75 pieces of leather and foam—each carefully considered so that they may form a union greater than the sum of their parts.

-
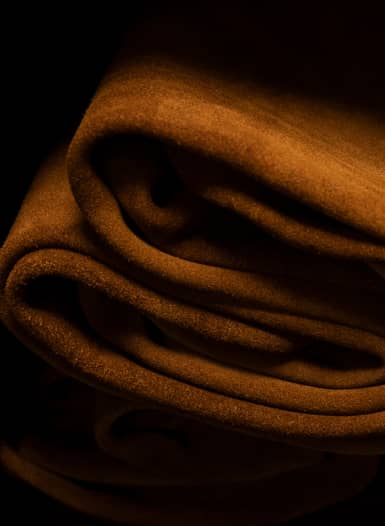
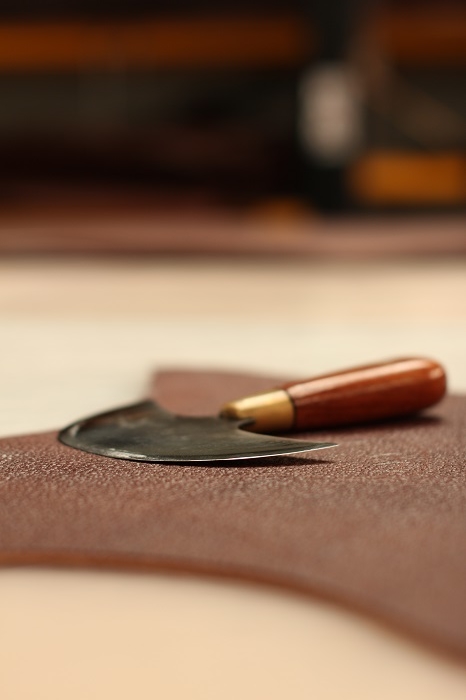
The process continues under the watchful eyes and skilled hands of our artisans, who cut, prepare, and create. And it ends when one of our field experts puts the finished saddle on your horse, always measuring, evaluating, analyzing each movement.

Immerse yourself in our workshop
A lasting relationship
Yet it doesn’t end there, for Antarès is with you at every step, even after your saddle has been delivered and adjusted to your satisfaction.
After all, horses grow and change, as do riders. And long after the initial delivery and final check, we will be there as you both continue to evolve—standing ready to help you keep performing at your best.